The key to a successful day at Ironman Lake Placid is a disciplined, strategic approach. The marathon tells the tale of those who pushed too hard on the first loop of the bike.
If this is your first time preparing for Ironman Lake Placid, you are no doubt wondering (fearing?) what to expect. If you’ve done the course before, you may be wondering how to master the challenge that is IMLP, the longest continuously-running Ironman course in the continental U.S.
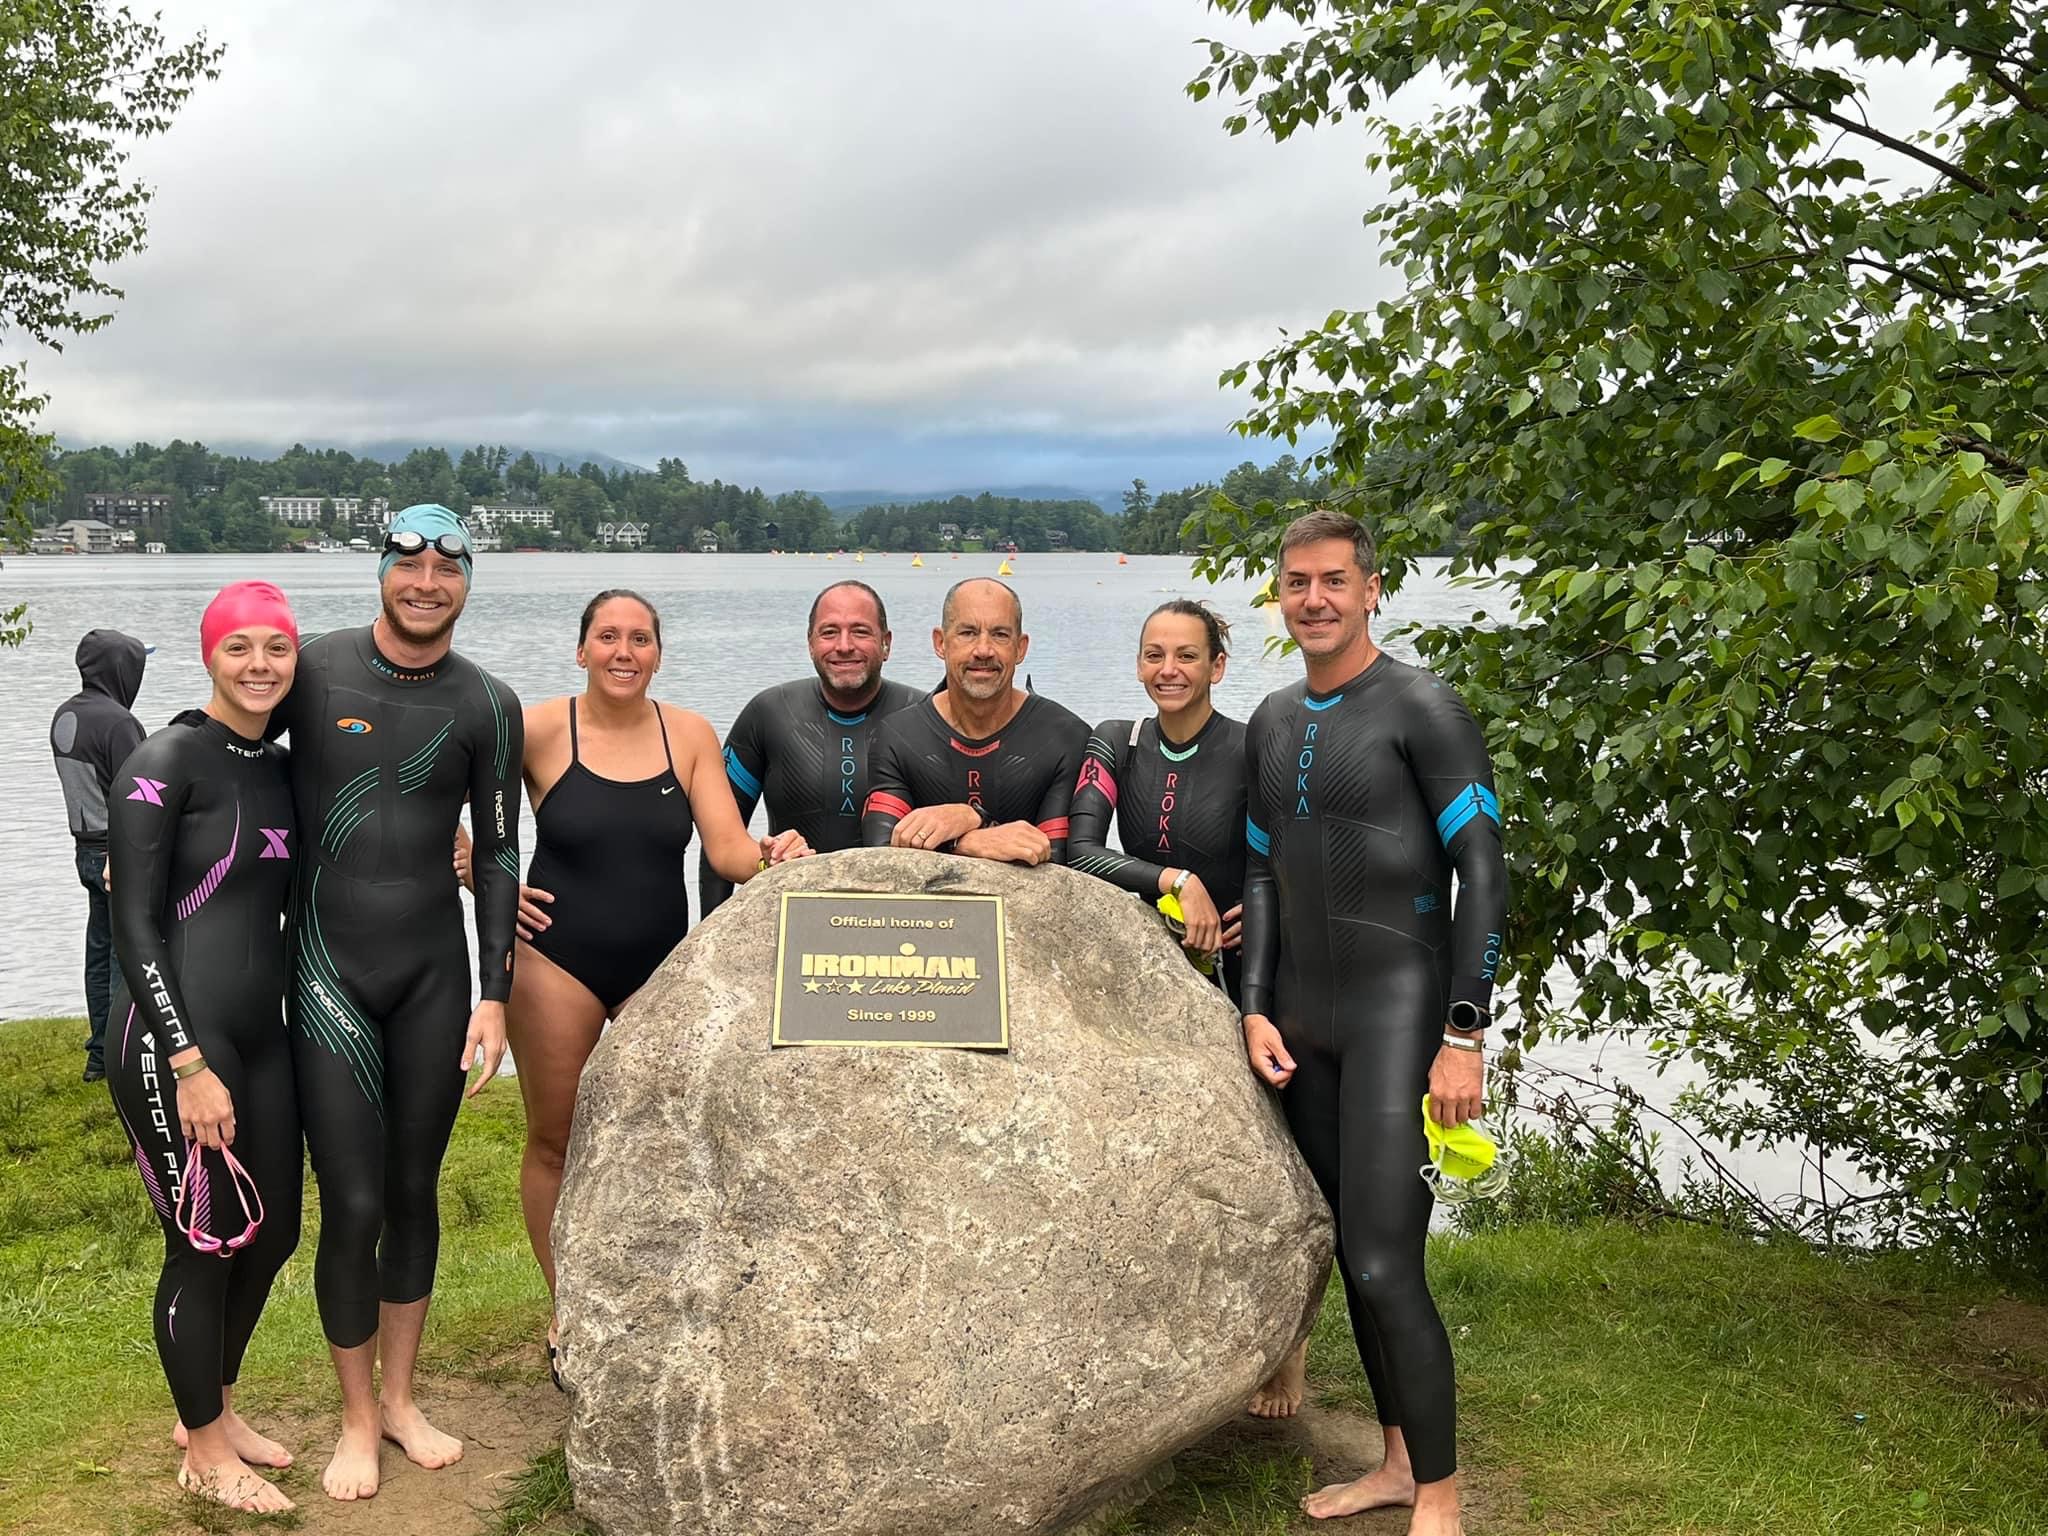
The course has humbled its fair share of athletes – regardless of experience. But, the hard work is well worth it because there is nothing quite like finishing in the Olympic Oval, in the town where miracles happen!
Our No Limits Coaching Staff has raced IMLP a combined total of 15 times. Since 2015, we’ve coached nearly 80 athletes to the finish, and we will have 30 athletes on the starting line this year (2024). We’ve hosted an annual camp since 2017, so we’ve trained the course so many times, we can tell you where the potholes are (although, the course is pretty smooth these days thanks to road work).
We’re combining this experience to give you our top tips for racing Ironman Lake Placid, with something for first timers and veterans alike.
The Swim: Mirror Lake Magic
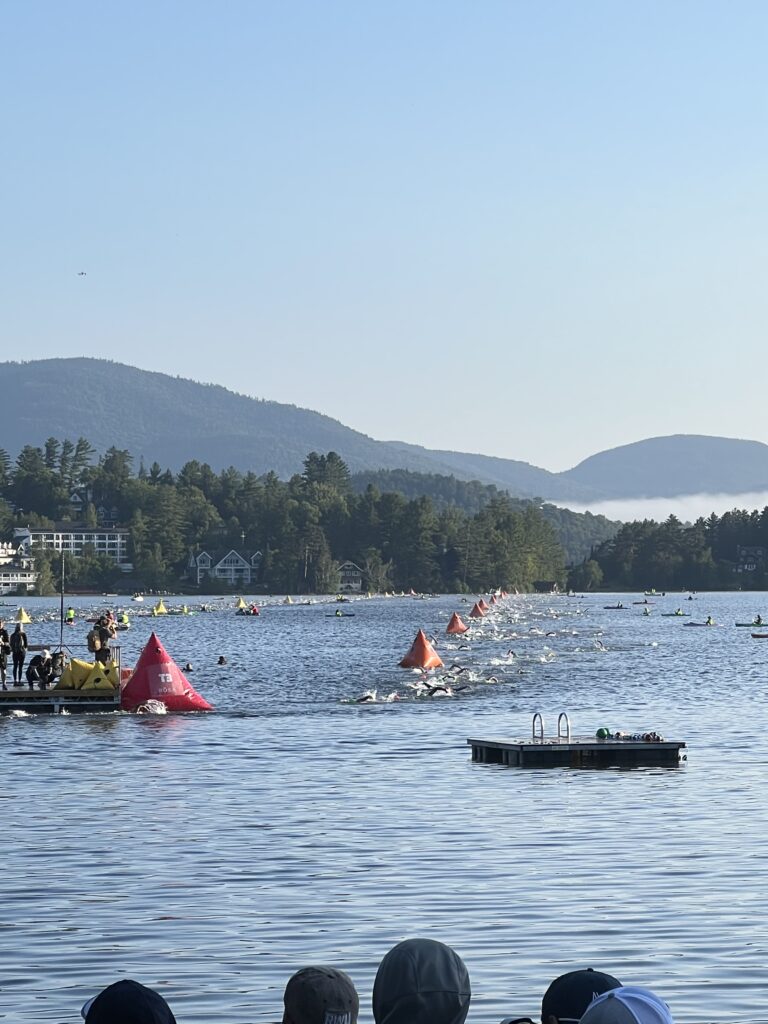
In my opinion, Mirror Lake is one of the best swim venues on the IM circuit. The water feels magical, making you strong, refreshed and ready to crush.
Ironman Lake Placid features a rolling start, based on predicted swim finish. Typically, about 25 or so athletes will be released at once to swim in a clockwise direction around the 2-loop course. Between loops, you do a short run across the beach and timing mat.
The rumors are true: there is a thin underwater cable that runs the entire length of the course. Get on that cable, and you never have to sight. Of course, nearly 3000 of your closest friends also want to swim on that cable. So, be prepared for some company if that’s part of your race plan.
It’s easy to get on feet and draft, although you may find the draft effect is lessened on the second loop compared to the first.
Faster swimmers are likely to overtake the slower swimmers at the end of their second loop. So, be aware – and be courteous. Everyone deserves their own space.
T1: Lake to Olympic Oval
After you exit the late, you’ll run almost a half of a mile, on the street. It’s a little rough on your tootsies, so tread lightly. The best part about this run: it is lined with cheering people. It’s super exciting!
Try not to let that excitement get you too riled up as you run to transition. Keep your HR in check. It’s waaayyyy too early to hit the redline.
When you drop off your bags and bike the day before, do a walk through transition so you know where everything is relative to swim in and bike out.
My first experience in the changing tent was overwhelming to say the least. Have a plan for what you will do in transition. Be prepared for lots of hot, humid, stale air, and naked bodies. If you aren’t changing clothes, then I recommend staying to the outside or doors of the tent to get your stuff together. Grab a volunteer for help. They are AWESOME!
The Bike: How about a side of climbing with your climbing?
Ah, yes, the bike. This is probably what you came here for, right?
The Ironman Lake Placid bike course may not be the hardest route that exists. But, it requires smart and careful pacing. Improper execution will turn this bike ride into the hardest day you’ll ever suffer through. Those who miscalculate the difficulty of this course pay for it dearly – and wind up walking most if not all of the marathon.
My advice to you: Do not underestimate this course.
There is about 6000-6500 feet of climbing in this course, most of which comes in the second half of the loop. This elevation data comes from averages from my personal data, as well as the dozens of athletes we have coached. The elevation profile on the Ironman website over-estimates the climbing, in our opinion. The official course map can be found by clicking here.
An effective Lake Placid bike is a disciplined one. I’m not suggesting that you should be on a sight-seeing tour – although, the views are absolutely SPECTACULAR. Rather, execute a smart and patient pacing plan based on rate of perceived exertion, heart rate and/or power. I believe using power is a smart choice to control effort on the long grinding climbs.
Know what you are capable of sustaining – and be able to run. Then, work to your abilities, and don’t worry about what other people are doing. Your race, your pace, your plan.
There is a lot of folklore about the “three bears” of this course. I’ll say this about that: Mama, baby and papa bears are the least of your concerns. The initial climb out of town, the climb up 86 into Wilmington, and the rollers along the last 15 miles of the course are a much greater concern.
When approaching a significant goal, like riding 112 miles, I find it easiest to break the goal into manageable parts. As I see it, a loop of the Lake Placid bike course has 7 parts.
1. CLIMBING OUT OF TOWN
Overall, this section is about 11-12 miles, and will take you to the top of the descent into Keene. The first 3 miles of the loop, along Route 73, is relatively flat. Use this as an opportunity to calm your heart rate, and settle in.
The climbing stars once you make a gradual right turn up 73. You’ve got about 7-8 miles of stair step climbing, from a low of 1,692 feet to a high of 2,071 feet.
I’ve read others’ reports of the course, and I’m surprised at how little the opening climb is discussed. To be fair, it’s not a “killer” climb, and is manageable in the big ring. However, if you push this opening climb too hard in either the first or second loop, you’ll regret that decision when you hit the hillier second half of the loop.
My recommendation: spin at a moderate effort in the small ring. There’s plenty of time for big ring hammering when you get to the next two bits of the course. If you are feeling good on the second loop, and you are a strong cyclist, you can consider that big ring. But, remember: the final 15 miles are the most relentless, and in the second loop those final miles can be absolutely demoralizing if you didn’t gauge your effort correctly.
2. THE DESCENT INTO KEENE
 What goes up definitely goes down, and down and down. The descent into Keene is approximately 6 miles long, and has 3 primary sections to it, which are delineated by a series of “Trucks Use Low Gear” signs. This is one of the signature elements of the Ironman Lake Placid Bike Course.
The signs come in a series and warn: “Trucks use low gear XX miles.” This includes 3 main segments that are about 2 miles in length.
The descent is quite picturesque–that is if you weren’t whizzing by it with every fiber of your being concentrating on maintaining control at high speed.
This road has been mostly re-surfaced; however, due to winter heaving and plowing, you should expect some cracks and dips. Keep your eyes open. Overall, it’s in good shape – much better than when I first started training up there, nearly 20 years ago. Be careful if you are up there training when there is traffic on the road. It can get very busy.
In between the main segments of the descent, the course flattens enough for you to gain your composure and prepare for the next segment.
The third series of “use low gear” signs follows quickly upon the second and this section lasts for 2 miles. This third and final section of the descent is the steepest. The more courageous cyclists have reported speeds in excess of 50 mph by the end of this descent.
However, it is possible to control your speed. If you aren’t feeling like a daredevil, remember to stay to the right and lightly feather your brakes to control your speed.
Know your limits, and stay within them. As we like to say, only go as fast as you are prepared to hit something!
At the end of the descent, as you enter the town of Keene, you will make a hard left turn onto Route 9N, heading towards Jay.
3. THE FLATS
Once you turn, the course takes a decidedly less Evil Knieval-esque flair. This section is flat-ish, with a net downhill, although the grade is very very slight. And, there are still some small hilly bumps here and there. You can really move on this section. But, be forewarned: the climbing is coming.
Stay within your limits, especially on the first loop. Do not try to “bank time” by riding above your targets. That is a losing strategy every time.
This section is great for aero position, eating, drinking and soaking in some beautiful scenery. It is positively gorgeous!
5. CLIMBING 86 with the Haselton Out & Back
At the intersection for 9N and 86, you will make a left up 86. And, when we say “up”, we mean UP. This is the hill our team has come to call Spike. You will climb up, up, up in a stair-step rolling fashion. This climb is not terribly steep, but it’s slow going. Its placement at this part of the course makes it a challenge.
Again, stay disciplined. Wait, have I mentioned that?
Somewhere along here you will get your first glimpse of Whiteface Mountain. It’s such an awesome sight – and always brings a smile to my face.
Just before you get into the town of Wilmington, you will see Bilhuber Road. You’ll make a right turn for an out and back section. Bilhuber intersects with Haselton, and you’ll proceed with a slight right on to Haselton. This section is about 5 miles out, BEFORE the Black Brook town line. You’ll make a 180-degree u-turn, and stay on Haselton until it intersects back with 86, again, about 5 miles back, for a total of 10 miles on this segment.
Overall, you’ll ride a net downhill on the way out, and uphill on the way back. Beware the spicy climb toward the end of this section.
6. THE ROLLERS
Once you turn back on to 86, you’ll have 14-15 miles left to the loop.
Along this section, you will climb in a stair-step fashion up a series of areas: Whiteface Mountain, Walkers Gorge, Wilmington Notch, the Bears – to name a few. Despite the climbing, there are some areas that are flat enough that you can maintain a good pace, and chug along in aero.
As you come into High Falls Gorge, you get a quickie descent and a semi-flat area (for a minute) that allows you spin before the relentless climbing begins anew.
The scenery is beautiful, and the challenge is fair. No single climb is particularly steep. However, the cumulative effect requires patience and a smart pacing plan.
Once you ride by River Road (which will be on your left), there is a final bit of flat section (probably less than a mile). Then, you climb up some rollers that have been dubbed Little and Big Cherry before you meet the Bears. Mama Bear is first, Baby is in the middle (really just a bitty bump) and then you see Papa Bear. It’s a short climb. You can see the top and it takes just a few minutes to get there. Once you get here, you are just a few miles away from the end of the loop.
On race day, Papa Bear will be teeming with spectators—many of which will be in some type of crazy costume. Every time I come through this section, I feel like I’m in the Tour de France. Enjoy it!
7. HEADING BACK TO THE OVAL
After climbing Papa Bear, you will stay on 86 for a short out and back that brings you close to town, and the intersection with 73, where you’ll make another u-turn. Be sure to practice those 180-degree turns in training!
You’ll head back to the top of Papa Bear, and make a left on onto Northwoods. There is a spicy climb on this road. It’s not long or steep, but at this point in the ride you will notice it. Northwoods intersects with Mirror Lake Drive, where you’ll turn left to head back to Lake Placid to start your second loop, or to head into T2.
T2
As you come back to transition, a wonderful volunteer will likely grab your bike for you. Make sure you take anything you need off your bike.
Run to the gear bags, and grab your bag. Make sure you know where your gear is by adorning it with a colorful ribbon, and doing a practice walk through the day before.
Run
The Ironman Lake Placid run is two loops, with the first half of each loop a net downhill, and the second half a net uphill. Are you sensing a theme on this course?
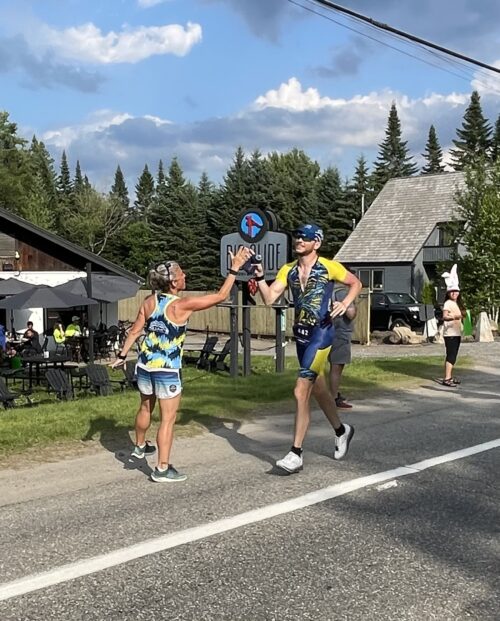
You’ll run out of town, on mostly downhill terrain for a little over 2 miles. In this opening section, you’ll run down “Lisa G’s Hill” – named after the restaurant that sits at the bottom of this hill.
You can get some good speed going down this hill. But, be careful not to pound your legs. Practice efficient form for downhill running: quick feet, light steps. Don’t heel strike, and land within your center or gravity.
After this initial downhill, you’ll run on the opening part of the bike course until you get to River Road, where you’ll turn left after a descent down a bridge. (This turn comes where the bike course goes right to head up 73.)
River Road is an out-and-back section of the course. It’s tricky for spectators to get back there because the roads are closed to vehicular traffic – including bikes. However, the aid stations are typically “themed,” and the volunteers are incredible with their support. It also helps that the scenery is gorgeous. Even still, it can be a little lonely out here. Prepare yourself for it mentally if you are the type of person that likes to have spectators all along the course.
Use this section as an opportunity to get into your rhythm. Stay focused. Continue to eat and drink on your schedule.
River Road features a series of small hills. No one bump is particularly steep or long. However, similar to the bike course, there is a cumulative effect. So, again, my advice is to remain within your ability – especially on the first loop.
At this point, those who hammered the bike will begin to feel the toll of that effort. There is quite a bit of walking to be seen back on River Road. Look away! Don’t let it affect you: stay focused, stay tough.
After completing the out-and-back on River Road, you will run back up those hills from the first two miles of the loop. These hills are steeper than what you’ll find on River Road, but they are relatively short. Stay calm, carry on. Luckily, this area has plenty of spectators to cheer you on.
The tricky bit about going up Lisa G’s hill: once you climb up that steep hill and make the left on to Main Street & Mirror Lake Drive, you are still climbing. So, if you are not a strong runner, I recommend power hiking the steepest section, and then running once you make that left, as the grade levels off quite a bit.
As you come back into town, you will run past the transition area, for an out and back section along Mirror Drive, lined with spectators. You will also be able to grab your special needs bag along this stretch.
After this out and back, you head toward the transition/finish line area. You go left for your second loop, or right for the glory of the Olympic Oval.
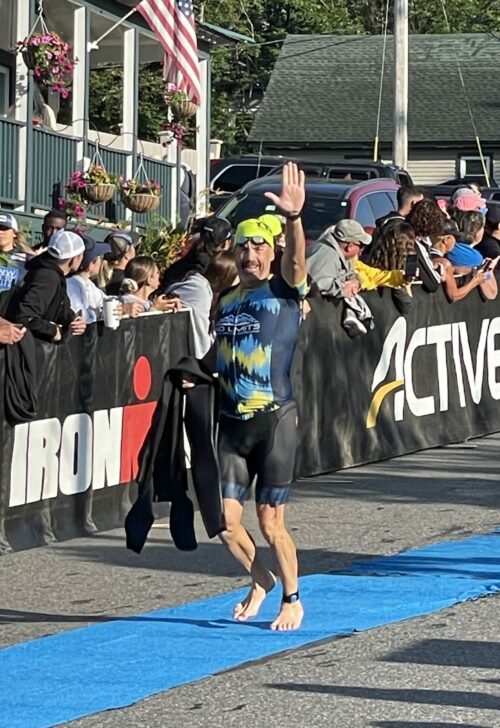
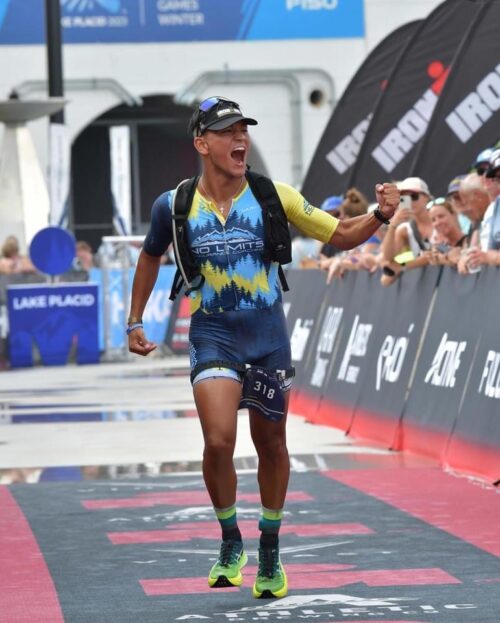
The Finish
The finish of the Ironman Lake Placid allows you to complete a partial lap of the Olympic Oval, which is lined with spectators, all holding their hands out for high-fives.
The first year I did this race, I foolishly rushed this part. I ran straight through, keeping my eyes on the ground (I was embarrassed because I was crying from joy!). In subsequent races, I didn’t make that mistake again.
Ironman Lake Placid is a challenging and beautiful course. Stay disciplined, race smart – and you’ll have a fantastic day on this course. When you finish, all of your hard work and sacrifice will be worth that swagger you can take with you for the rest of your life.
If you need help, we have spots opened for 1:1 coaching. We also offer team memberships, and custom training plans.