When I train, I often visualize different race-specific scenarios, and I especially love to pretend that someone (with an amazing accent – think Phil Liggett style) is narrating my workout. For example, one of my favorite sequences is to imagine myself in the final miles of a run. I see myself as a quick and sure-footed athlete, as the announcers call out the blow-by-blow of my race.
“Simone is looking good with less than 10k to go in this marathon; she is making her competition work for it. She is running down the first place athlete in her age group, and she’s got the time to catch her.”
Ah, yes, I say visualization, but really it’s more like a fantasy, right? Po-tay-toe, Po-tah-ta.
Lately, I’ve been ramping up my swimming in anticipation of completing 100 x 100 on New Year’s Day. This was a tradition I used to do every year, but haven’t been able to in the past few years – first because of moving, and then because, well, pandemics are not amazing for pool access.
And, yes, I engage in similar fantasies visualization when it comes to my swim stroke. I have images of the strong, lithe bodies churning and burning in the opening yards of an Ironman swim start. I imagine myself slicing through the pool water like the olympians. In my mind, I’m right there with the best of them – form in motion!
I’m smooth, fluid, perfect. I’m Ms. Swim Smooth–in my mind.
This past week I decided to get some video of myself, as it’s been a few years since I’ve had a look-see at what goes on. My fantasy visualization had to grapple with the actual visual of my swim stroke.
Harumph. That was quite the rude awakening.
Ms. Swim Smooth, meet Ms. Swim Sloppy.
The evidence was right there on the video. Thumb first entry, much too close to my head. Using my arm as a kickstand under water, revealing an imbalance on my breath. Crossing over with my left arm (ugh – been trying to fix this one FOR YEARS).
And, yes, I noticed some good things as well. But, I didn’t video myself to pat myself on the back. I took the video to make sure I’m swimming as efficiently as my adult-onset abilities will permit.
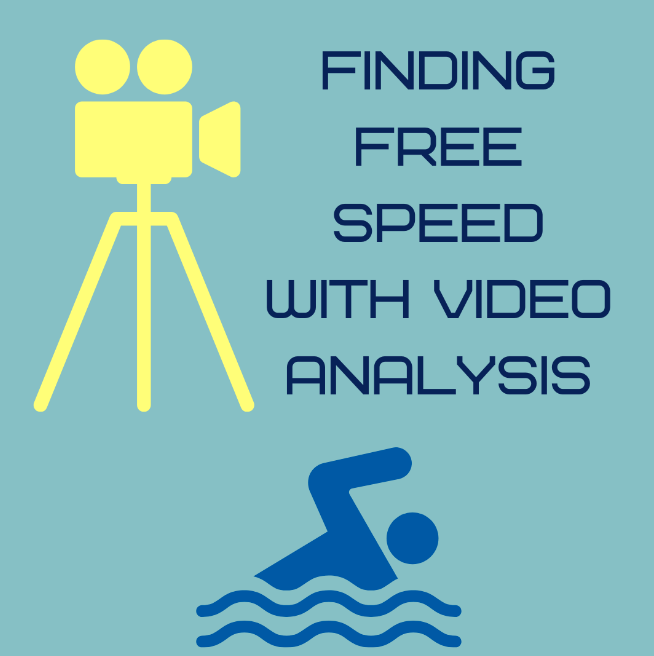
Benefits of Video Analysis
The key benefits of a video analysis is to identify issues in form that can either create efficiency (more speed for the same effort), or (more importantly) reduce injury risk.
I do the bulk of video analysis for swim and running with a primary focus on issues that can cause injury. (If you are having issues with the bike, I do not believe a video analysis can replace an in-person bike fit. It is worth the time and money.)
The correctives for any issues that we discover may include strength or mobility work or drills – and often some combination of these approaches. However, when it comes to running, we shouldn’t mess too much with our natural form (unless there is an injury risk), as making changes to run form can bring with it different types of injury risk. In this case, I will often rely on strength and stability work to support run adjustments.
After injury risk is addressed, we can move on to finding efficiencies. Making correctives of this sort can help you find free speed. For example, correcting a crossover in your swim stroke can add up to MINUTES in a 2.4 miles. Working on strength for run form, can help you hold form and speed in the final miles of hard or long runs. These are small differences that can add up to time savings!
How to Take the Video
First, enlist the help of a partner to take the video – this is the case for either swim or run.
Run Video
For a run video, you may be indoors on a treadmill or outdoors. However, outdoor video is the most natural, and it is my preferred location. It is important that you are warmed up and have been running for at least 15 minutes before you take the video.
Your partner does not move during this film. Get shots of you running:
- Directly toward the camera. It is important to get this as a straight-on angle.
- Directly away from the camera. Again, make sure the angle is straight.
- Run by the camera to get a side video, making sure this is a direct side angle. Get video of each side.
Swim Video
Swim video is best taken in the pool, rather than open water, for best visibility. I also strongly recommend using a camera that allows you to get some underwater shots, as well as above water. A Go Pro, or similar style camera, works amazingly well for this purpose. So, if you or someone you know has one – this is a great use of the tool!
As with the run video, find a partner to help. Then, get the following series of videos:
– The person filming you stands at one end of the lane and does not move as you swim toward them. As with the run videos, make sure this is a straight angle.
– Same idea as above, but now you swim away from them.
– The person filming walks along the side of the deck and gets video of you from the side, following you as you swim. Video from each side is great.
– If you have an underwater camera: Take the same series of shots as above, but all underwater.
If you think taking video of yourself might make you feel weird, I get that (it is awkward!). But, my advice? Just do it. You’ll forget any feelings of weirdness when you are moving faster toward that finish line with a reduced injury risk and greater efficiency!