9 Bike Handling Drills
When I first ventured into triathlon, I didn’t think much about how to ride a bike. After all, I had ridden my bike since I was a kid. I knew how to hop on and make the thing go.
But, over time, it became clear to me that there were situations when I was losing time due to poor bike handling skills. After all, road bikes and tri bikes handle quite differently than the beach cruisers I rode around my hometown.
As a triathlete, cycling was a primary area of opportunity for me as an athlete. So I faced that limiter head on when I enrolled in the USA Cycling Coach Certification Clinic in 2016. While I wanted to learn as a coach, I also knew this clinic would support me as an athlete.
One of the key takeaways is just how much our bike handling skills matter for safety and performance. As the weather warms, and we head outside, now is a great time to put this at the top of our agenda for every ride. This article will review the why of bike handling, and identify 9 bike handling drills you can easily mix into any bike ride.
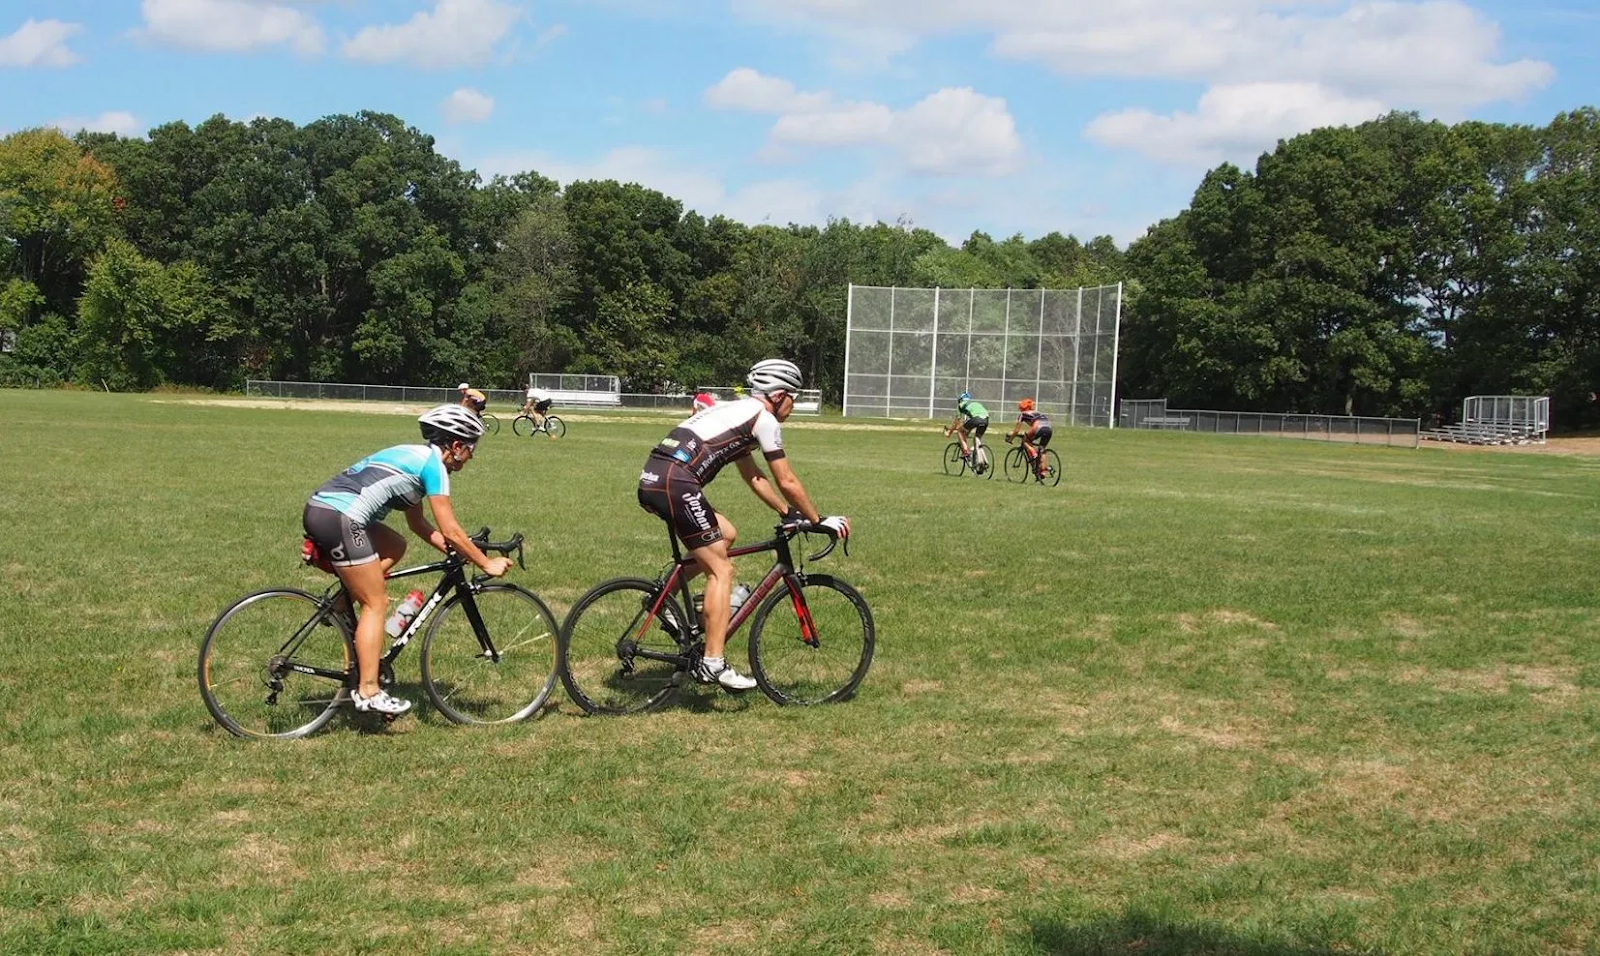
This drill shown above required that we practice bumping tires (taken during the USAC coaching clinic I attended in 2016). While this drill may not seem immediately relative to triathletes, who do not ride in pelotons, it is a good drill to learn how to be comfortable with the unexpected.
Why care about bike handling?
Given all of the mandates on our time, it’s fair to ask why we should take time to work specifically on bike handling.
The most important reason is your safety. If you can handle your bike on various road surfaces, in rain or slippery conditions, up and down hill, or to avoid obstacles, you will be safer when you ride. (Another key ingredient to your on-road safety is making sure you are visible to cars: high viz clothing and lights – every ride!)
Improved bike handling skills will also improve your overall finish times. Cycling faster isn’t just about more power into the pedals. Making the most of your effort also includes ensuring your equipment is optimized (that’s a topic for another post), and you are able to handle your bike in all sorts of conditions.
I recommend a bike handling session at least once weekly, or more if you are newer to cycling. Take 30-40 minutes on at least one ride to work through at least 3 of the 9 drills offered below. Additionally, you can add bike handling drills as part of warm up and cool down for any outside ride. I used to spend the first 30 minutes of all of my long rides running through some of the drills I share here today.
The time you spend can make a BIG difference in terms of your comfort on the bike – as well as your overall performance.
The Bike Handling Drills
You can opt to do these bike handling drills in any sequence. They are loosely ordered in level of difficulty. But, what is difficult may vary from person to person. So, try a collection of these and see what needs work!
For all of these drills, I recommend practice in a safe location, with no car traffic. Empty parking lots can be very helpful. Or, if you live on a quiet street (such as a cul de sac), that can work as well for most of these drills. Some of these bike handing drills can also be executed on a grassy surface. That way, if you fall it won’t hurt so badly!
1) Ride one handed
Being able to ride with one hand is mandatory. This is how you grab hydration and fueling, and it also frees one hand to make signals when you are riding in traffic.
This foundational bike handling drill can be very easily executed on any ride. First, take your left hand off the handlebars. Ride keeping the bike in as straight a line as possible. Then, repeat on the right side. Do this a few times. You’ll notice which side is the non-dominant one – make that your focus.
As one-handed riding becomes more natural, you can move your hand position to different places on the handlebar, learning how this changes the reaction of the bike.
2) Water Bottle Grabs
We need to eat and drink! So, the next progression to improve your bike handling is the grab. As you progress with the one-handed riding, you can add in frequent water bottle grabs (or nutrition grabs). Ride one handed while grabbing your water bottle from the cage and then replacing it. Repeat until it feels more natural.
As you advance, you can enlist the help of someone else so you can practice water bottle grabs, such as you will have to execute at aid stations. These will usually be grabs with the right hand, but not always, in the event an aid station happens to be on the left (not common, but does happen sometimes).
3) Straight line riding
Following the white line (or similar) in the road, ride a straight line. It’s easier the faster you go, so as you get better, slow your speed. Notice how you have to balance the bike in different ways to keep a steady, straight line.
As you advance, move on to 3a and 3b.
3a) Straight line riding with the look back
This bike handling drill starts off the same as #3, but now you will practice maintaining a straight line while first looking back to your left, and then to your right. How hard/easy was it to stay on a straight line?
3b) Straight line, one hand
Ride one handed while maintaining a straight line. Use the white line or something similar in the road. Switch hands. Note which hand is more steady, then invest more practice time with the non-dominant side.
4) Play with hand placement
Place your hands on the top of the headset (off the hoods) and near the center of the headset. Notice the differences in balance required depending upon where you place your hands.
Then, practice getting in to and out of aero (for tri bikes) or the drops (for road bikes). Practice this bike handling skill on different terrain and conditions.
5) Clip In Drills
We’ve all been there: falling over trying to get in or out of our pedals. And, if you find you struggle getting into the pedals quickly out of transition, spend time practicing!
Start from a stopped position, legs on either side of the bike. Make sure the pedal you plan to lead with is at about the 2 p.m. position. Then, lift the leg you want to lead with, and practice clipping in and then stomping down on the pedal to get the bike moving so you can clip in with the other foot.
Start off by looking at the pedals. But, eventually, practice without looking – so you are looking at the road ahead of you, instead of down at the ground.
Here’s a video from GCN that will progress you through these drills.
6) Slow speed riding
This drill will require you to keep pedaling, but with very slow speed. To achieve this, you will need to ride through your brakes – in other words: you will hold your brakes while pedaling. Try to get your speed down to 2-3 mph, while balancing the bike. The trick to this drill is to keep pedaling!
This drill is a good first step to help you progress to slow speed u-turns.
The following video includes these bike handling drills (plus more):
7) Slow speed u-turns
Practice a series of slow speed u-turns – first going left, and then going right. You can use the lines in the parking lot as a gauge for identifying the apex of the turn you want to circle around.
After you make each slow speed turn, you can ride straight for a bit, and try to turn in the other direction. When I do these, I just ride up and down the white lines in the parking lot. The tighter the turn, the more challenging. So, you can start with wide u-turns, and then work on gradually making them tighter and tighter as you improve in technique.
As you practice these slow speed turns:
- Keep pedaling as you turn – just as you did in slow speed riding. You can apply the brakes lightly as you pedal to control the speed. But, if you pedal, you will have more control over the bike at slow speed (e.g., 4-5 mph)
- Weight the inside handlebar and lean the inside shoulder in
- Look where you want to go – so you should be looking through the turn, not down at your wheel
8) Emergency stop
If you cycle outdoors enough, you will eventually need to execute an emergency stop. This video from GCN offers a great review of how to execute an emergency stop. This is an important skill – so prioritize it in your training.
9) Cornering
Cornering allows you to turn more efficiently at higher speeds. This drill can be tricky to execute in training because of traffic. Before you attempt this drill, ensure you have safe, low traffic terrain. It can also be done in a very big empty parking lot. I used to practice in a school parking lot on the weekends – when it was empty. Here, you practice turning at a typical ride speed using lean rather than handlebars. Tips for cornering: http://www.bicycling.com/trai…/bike-skills/how-corner-bike.
Be mindful when cornering around a tight turn when you can’t see what’s coming! Only go at a speed you feel comfortable with and only practice when you are not going to be in the line of cars. If you don’t have a safe option for this, skip it.
As you head outside, make these drills a regular part of your riding experience. You’ll gain confidence, enhance your safety, and improve speed output!